
Sunscreen is an absolute must if you want to protect yourself from harmful UVA and UVB rays. Unfortunately, sometimes it’s hard to find one that works with your skin type and may leave you dry, itchy, oily, breaking out, or even photosensitive.
Some natural essential oils have protective properties, and when combined with other ingredients that are known to protect from the sun and soothe your skin they are a great addition to your own homemade options. Why spend a ton of money on a popular brand name if you can make it yourself?
The following DIY doTerra sunscreen recipe is an option provided by the doTerra brand. This recipe calls for only a few simple ingredients and takes only about 20 minutes to make. You can easily use ANY brand that is transparent in their oil sourcing and purity, or simply leave out oils altogether if you wish!
Table of Contents
What You Need:

The following ingredients work wonderfully together for an all natural sunscreen option. Be sure to measure carefully to get the full protective benefits. The amount of zinc oxide you use determines the level of protection you receive. This particular recipe provides approximately a 30 SPF protection rating.
½ cup Coconut Oil
½ cup Shea Butter
2 teaspoons carrot seed oil
4 Tablespoons Non-Nano Zinc Oxide Powder
6 drops lavender oil
doTerra Recipe Active Ingredients
This recipe is full of sun blocking, skin protecting ingredients. Each contains various degrees of SPF (sun protection factor) that combine to create an effective barrier against both UVA and UVB rays.
Zinc Oxide: Broad UV protection that sits on your skin rather than be absorbed by your skin. This creates a barrier and is the essential ingredient for long term protection in this recipe.
Coconut Oil: Has a 4 SPF rate, which means it blocks about 75% of UV rays for about 45 minutes. Also is soothing to the skin and soaks in to create a non-drying barrier.
Carrot Seed Oil: With a SPF between 38-40, this oil is another highly nutritious, moisturizing, and protective oil.
Choice of Essential Oil: These are the least effective ingredient for sun protection, with various oils only having about a range of 1-7 SPF. I used lavender due to its 4 SPF rating, calming scent, and ability to work as an anti inflammatory- making it a very skin soothing option.
Step One: Add Shea Butter to a Glass Bowl

Purchase pure shea butter that comes in chunks or bricks. I prefer the lighter colored options as they have a very light scent and smooth into lotions very well. These are soft but don’t easily melt until warmed. I find that using a butter knife to cup off the desired amount and then pressing it into the measuring cup works well.
Step Two: Measure Coconut Oil
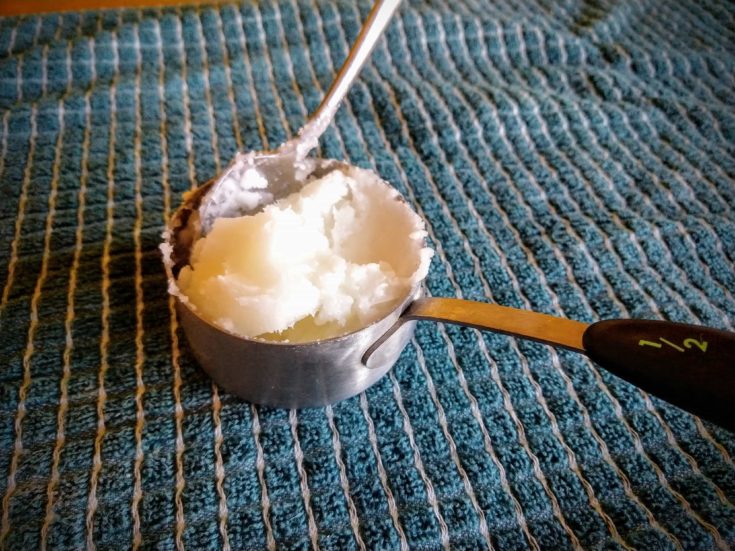
Be sure not to use fractionated coconut oil as you want a set-up, thick lotion- not a loose, viscous lotion. Coconut oil has a low melting point, but should harden into a solid below 78 degrees. It also is an excellent preservative and has a long shelf life.
Like the shea butter, scoop out your desired amount and press into the measuring cup. It is malleable and should be easy to work with. If it isn’t pop it in the microwave for 15 seconds. You have to melt the ingredients together anyway so melting it to get a proper measurement isn’t a big deal.
Step Three: Melt in Double Boiler

Melt the above ingredients in a double boiler, or melt in the glass bowl you are using over a pan of boiling water. I prefer the boiling water method despite having a double boiler since it keeps me from having to wipe clean one more thing.
Don’t walk away from this step at all because once it starts to melt it melts quickly. Stir slightly as it melts and remove from heat right before, or as soon as the last few pieces disappear. Allow to cool slightly before adding the next ingredients (about 5 minutes).
Step Four: Add Carrot Seed Oil

Measure out your carrot seed oil and pour in your mixture. Stir slightly to begin incorporating it in. This oil is not from carrots, but rather the Queen Anne’s Lace plant that has a carrot smelling root. But it is full of awesome benefits such as antibacterial, antifungal, anti-inflammatory, and antioxidant properties. Carrot seed oil is very yellowish in nature, but it doesn’t color the end result at all.
Step Five: Add Zinc Oxide and Stir

Be sure to use a Non-Nano Zinc Oxide powder for this as it is very fine and will incorporate well into the lotion as it cools. This step actually allows you to determine how protective you end result is. My measurements provide an approximate 30 SPF. Adding less will give less protection, meaning you could start to burn in less amount of time.
Step Six: Stir In Essential Oil

Once you have mixed the zinc oxide in well, go ahead and add your essential oil. Be sure to always do your homework in advance about what you are using, especially since certain oils can actually cause your skin to burn. Citrus oils, for example, should NEVER be used since they create photosensitivity.
If you are unsure of what to use, lavender is always a safe option, or you can skip this step altogether. Lavender is also amazing for after-sun care!
Step Seven: Pour into Glass Jar and Cool

Once you have well incorporated all ingredients, pour your ingredients into a glass jar for storage. Placing it in the refrigerator allows it to cool quickly if you want to use it soon.
You may see a bit of the oxide settle to the bottom once you begin pouring. If this happens simply scoop anything left into the jar, close the lid, and vigorously shake it before setting it in a cool place to harden up.
Step Eight: Store For Up to 6 Months
This probably can be stored longer than 6 months, especially if you keep it in the fridge, but since it only makes a little over 8 ounces you’ll probably use it up rather quickly.
Keeping it cool and in a dark place is essential for its effectiveness and will keep any zinc from settling out. If it ever does start to get soft due to exposure to higher heats, simply stir vigorously before applying.
How to Use
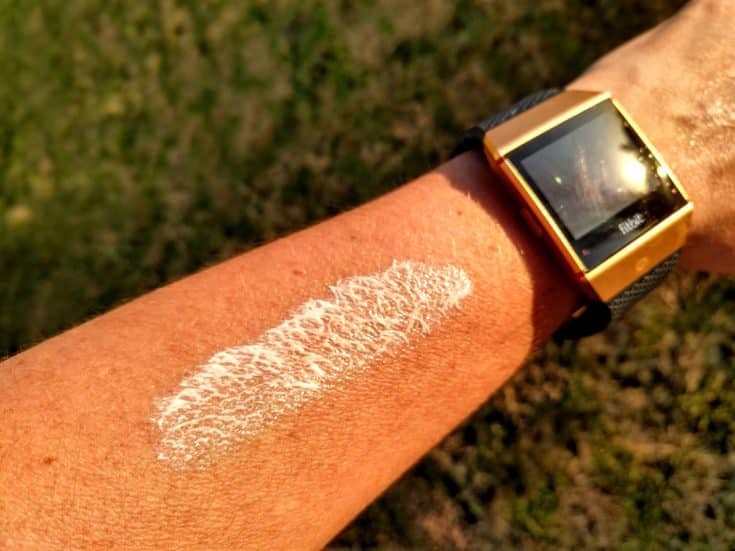
Simply scoop out the amount you want to use and rub well into your skin. The lotion will soften significantly against the heat of your skin and make it easy to apply. If you keep it stored in a cool place and pack it with you in a cooler it will keep you from having to stir it up before application.
Be sure to apply every two hours of sun exposure to keep your skin protected. And the great thing is, if for any reason you are feeling the effects of the sun, the oils will help keep you hydrated and in a healing state.
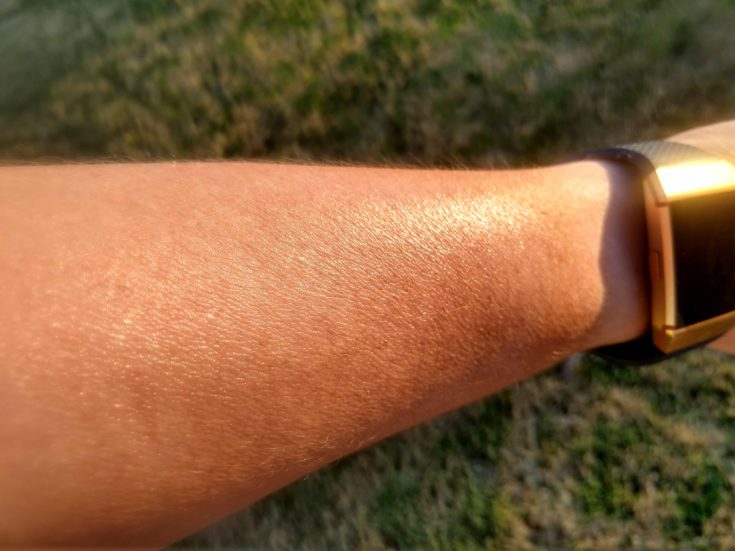
It rubs in wonderfully well without any greasy feel and doesn’t leave behind any dreaded white residue. Plus, it smells wonderful!
Conclusion
If a homemade sunscreen that allows you to control what ingredients you are putting on your skin sounds good to you, then this recipe should be exactly what you have been looking for. Easy to find ingredients, excellent skin protection options, and the ability to adjust your SPF factor are all benefits of this easy to make option.
We’d love to hear of your experience with this recipe below, and what oils you might like to add as a favorite. As always, please share!


